Environments
By default, Cronitor RUM assigns all incoming telemetry to your account's default environment (eg. production).
Before sending events to a non-default environment, be sure to first create it on your Cronitor account.
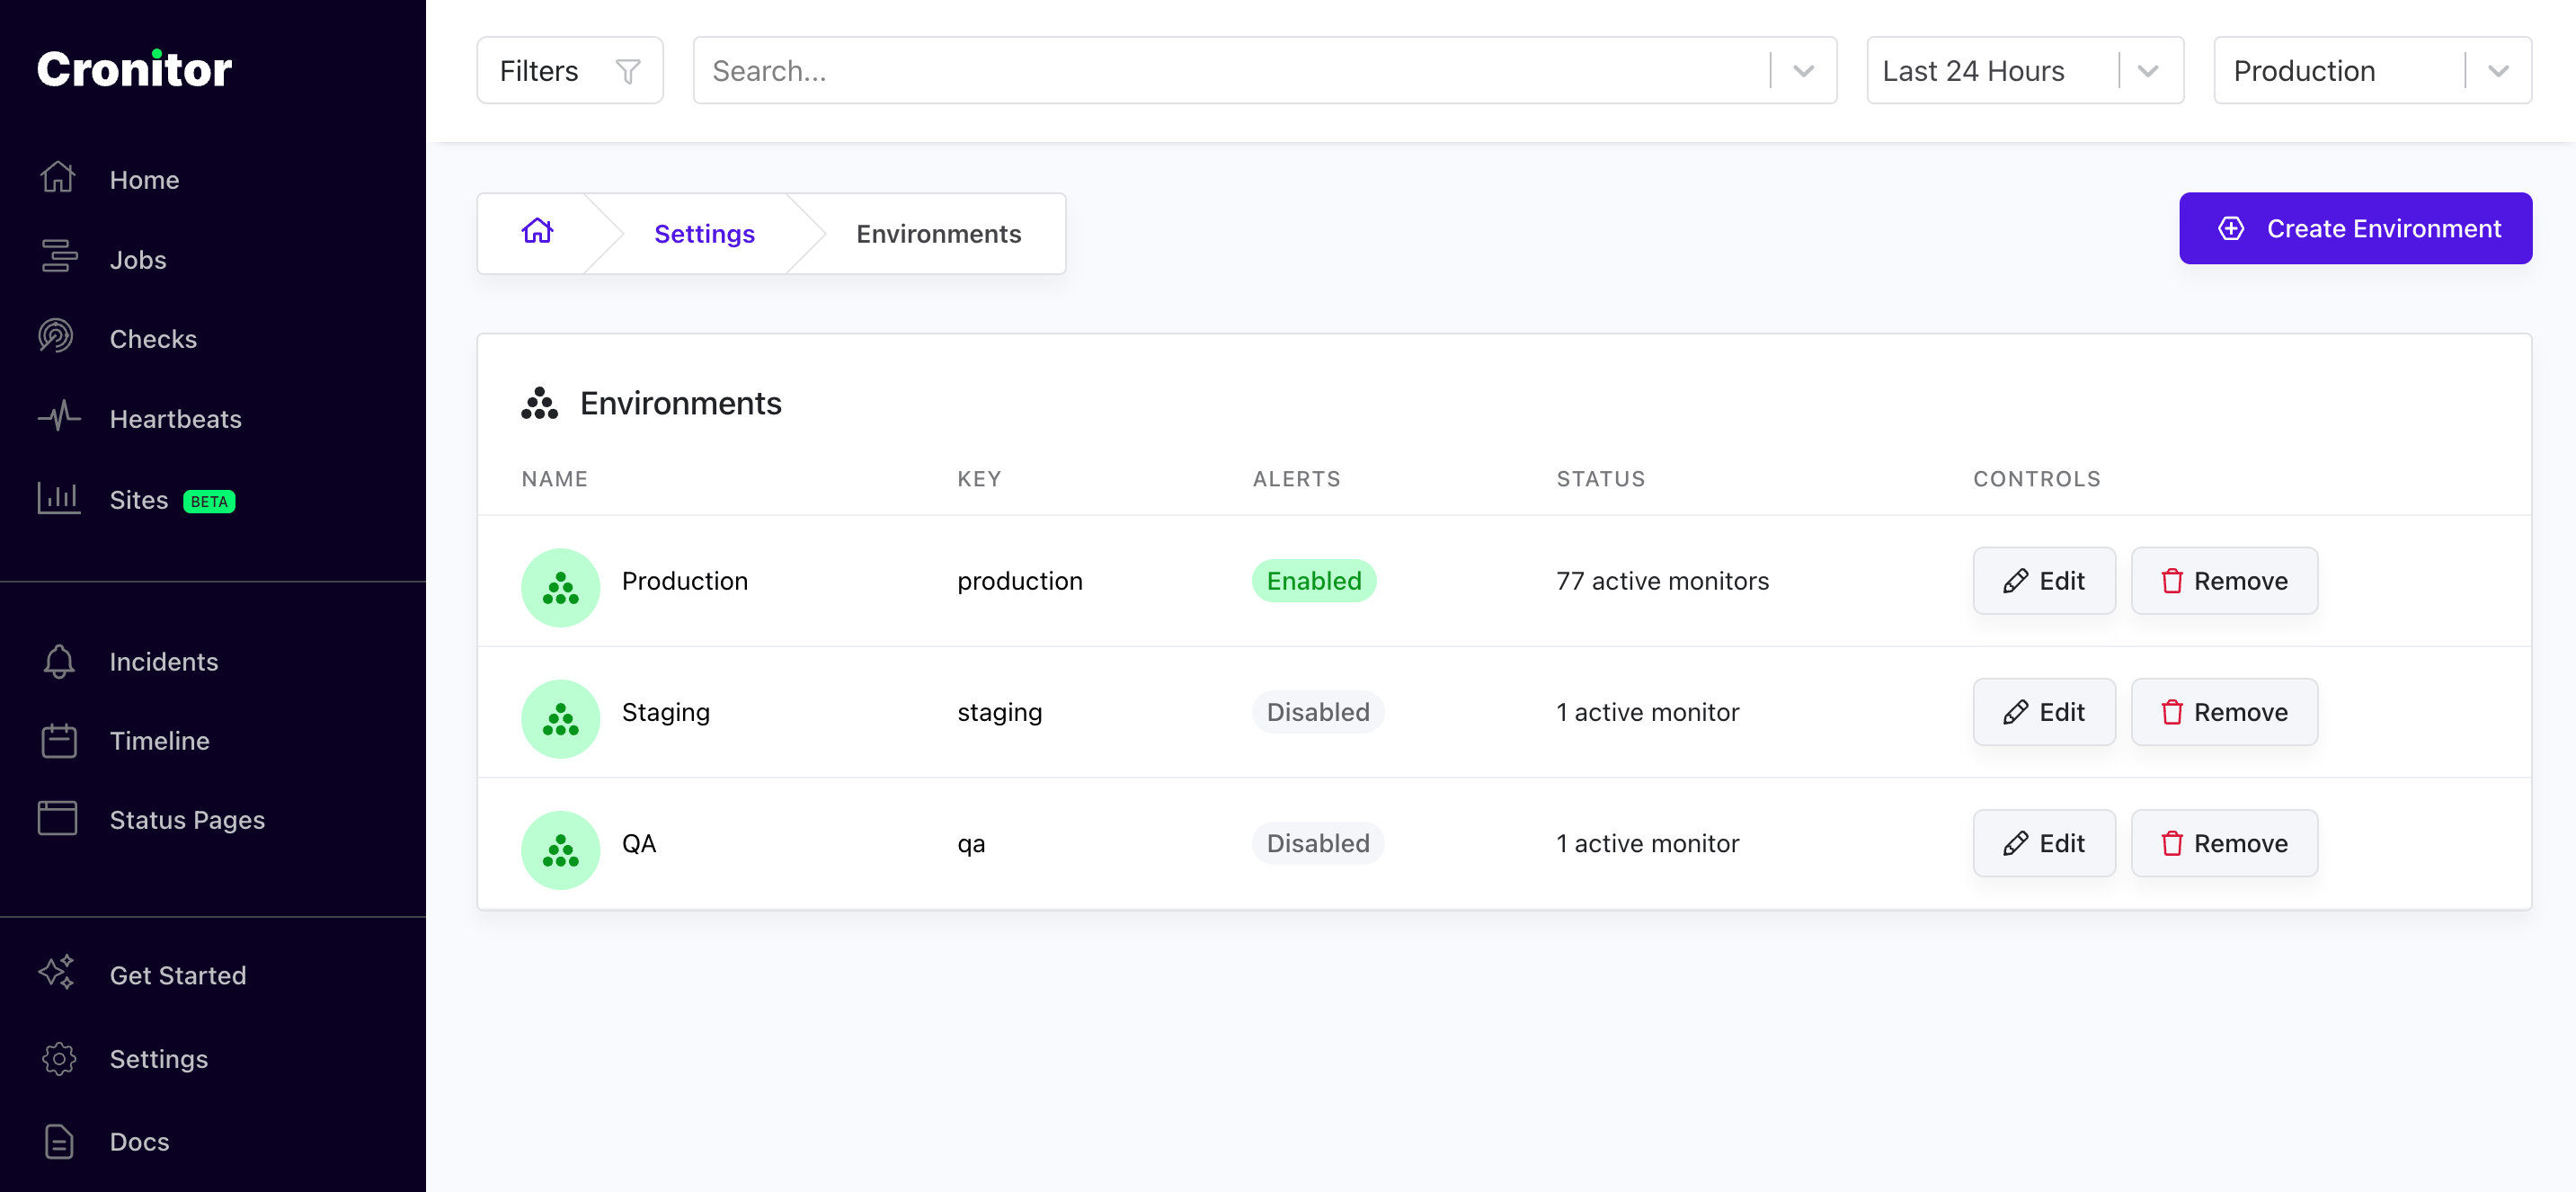
Create and manage account environments
If you'd like to view or manage the existing environments for your account, simply head to Settings > Environments in the Cronitor dashboard.
You can easily configure the Cronitor RUM tracking script to send events for a different environment. How you configure it depends on which SDK are you using.
Configure the environment when using HTML snippet
Simply set the environment parameter when initializing the SDK:
<!-- Cronitor RUM -->
<script async src="https://rum.cronitor.io/script.js"></script>
<script>
    window.cronitor = window.cronitor || function() { (window.cronitor.q = window.cronitor.q || []).push(arguments); };
    cronitor('config', {
        clientKey: 'YOUR_CLIENT_KEY',
        environment: 'staging',  // <--- Your environment
    });
</script>
Configure the environment when using the NPM library
If you're using the cronitor-rum-js NPM library, you can configure the environment by passing a config object to the Cronitor.load function.
import * as Cronitor from '@cronitorio/cronitor-rum-js';

// Load the Cronitor tracker once in your app
Cronitor.load('YOUR_CLIENT_KEY', {
    environment: 'staging',  // <--- Your environment
});
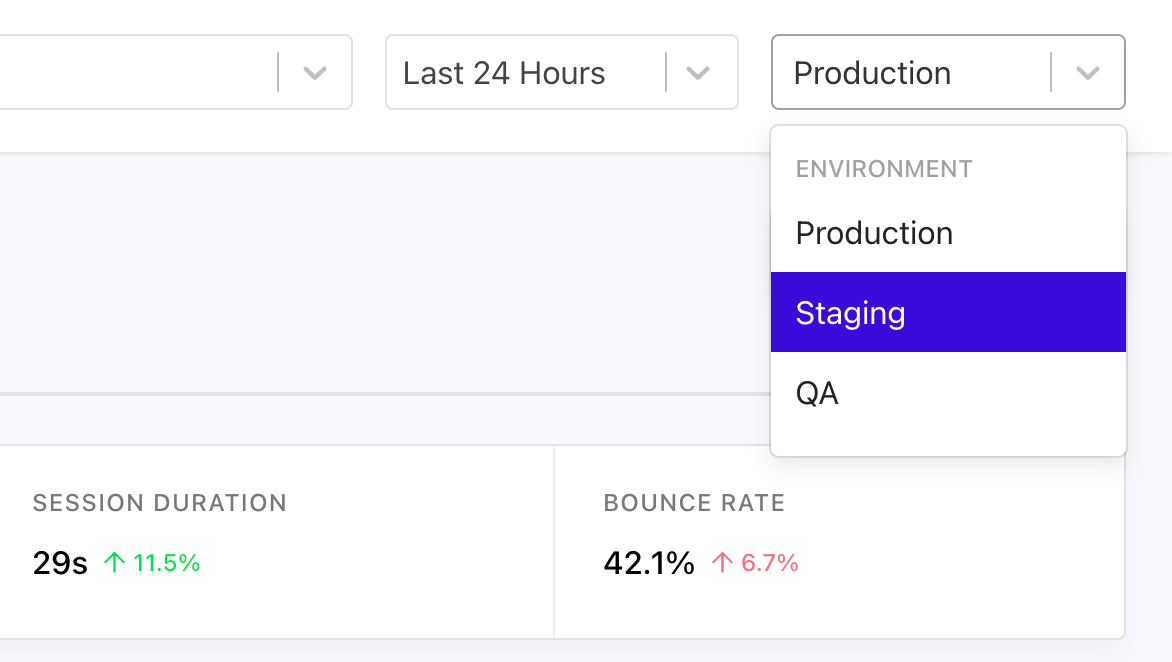
Select active environment
You can then view the events for this environment by selecting it from the dropdown in your Cronitor dashboard:
That's all you need to know to use multiple environments for your Cronitor RUM site!