Uptime Monitoring
How To Fix The DNS_PROBE_FINISHED_NXDOMAIN Error
Due to the distributed nature of the Internet, DNS errors are unsurprisingly common. They can happen regardless of which browser or device type you're using.
In this guide we'll explore what is DNS, why this error happens, and look at 3 possible solutions that work on macOS, Windows, iOS and Android.
What is DNS?
In plain words, the Domain Name System (DNS) is how your browser is able to translate a domain name (eg. google.com) into the IP-address of the nearest server that can reply to your request (eg. 123.123.123.123).
As you might imagine, this system needs to handle a very large amount of requests every second. After all, every single device in the world is using it in one way or another to communicate over the Internet.
To handle its inherent global scale, the system is distributed across thousands of servers around the world. It's a large network of DNS servers coordinating to resolve a given domain name into the correct IP-address for every publicly available website.
What does the DNS_PROBE_STARTED error mean?
The DNS_PROBE_STARTED error means that a DNS query failed to start, and most likely you are not connected to the internet. This could be an issue with your browser, computer, WiFi or network, or even a problem with your DNS server, which is a service provided your Internet Service Provider.
What does the DNS_PROBE_FINISHED_NXDOMAIN error mean?
The DNS_PROBE_FINISHED_NXDOMAIN error means that your DNS setup failed to resolve the address you're trying to open in your browser. The NXDOMAIN part refers to Non-Existent Domain: the resolver answered, and the name does not exist.
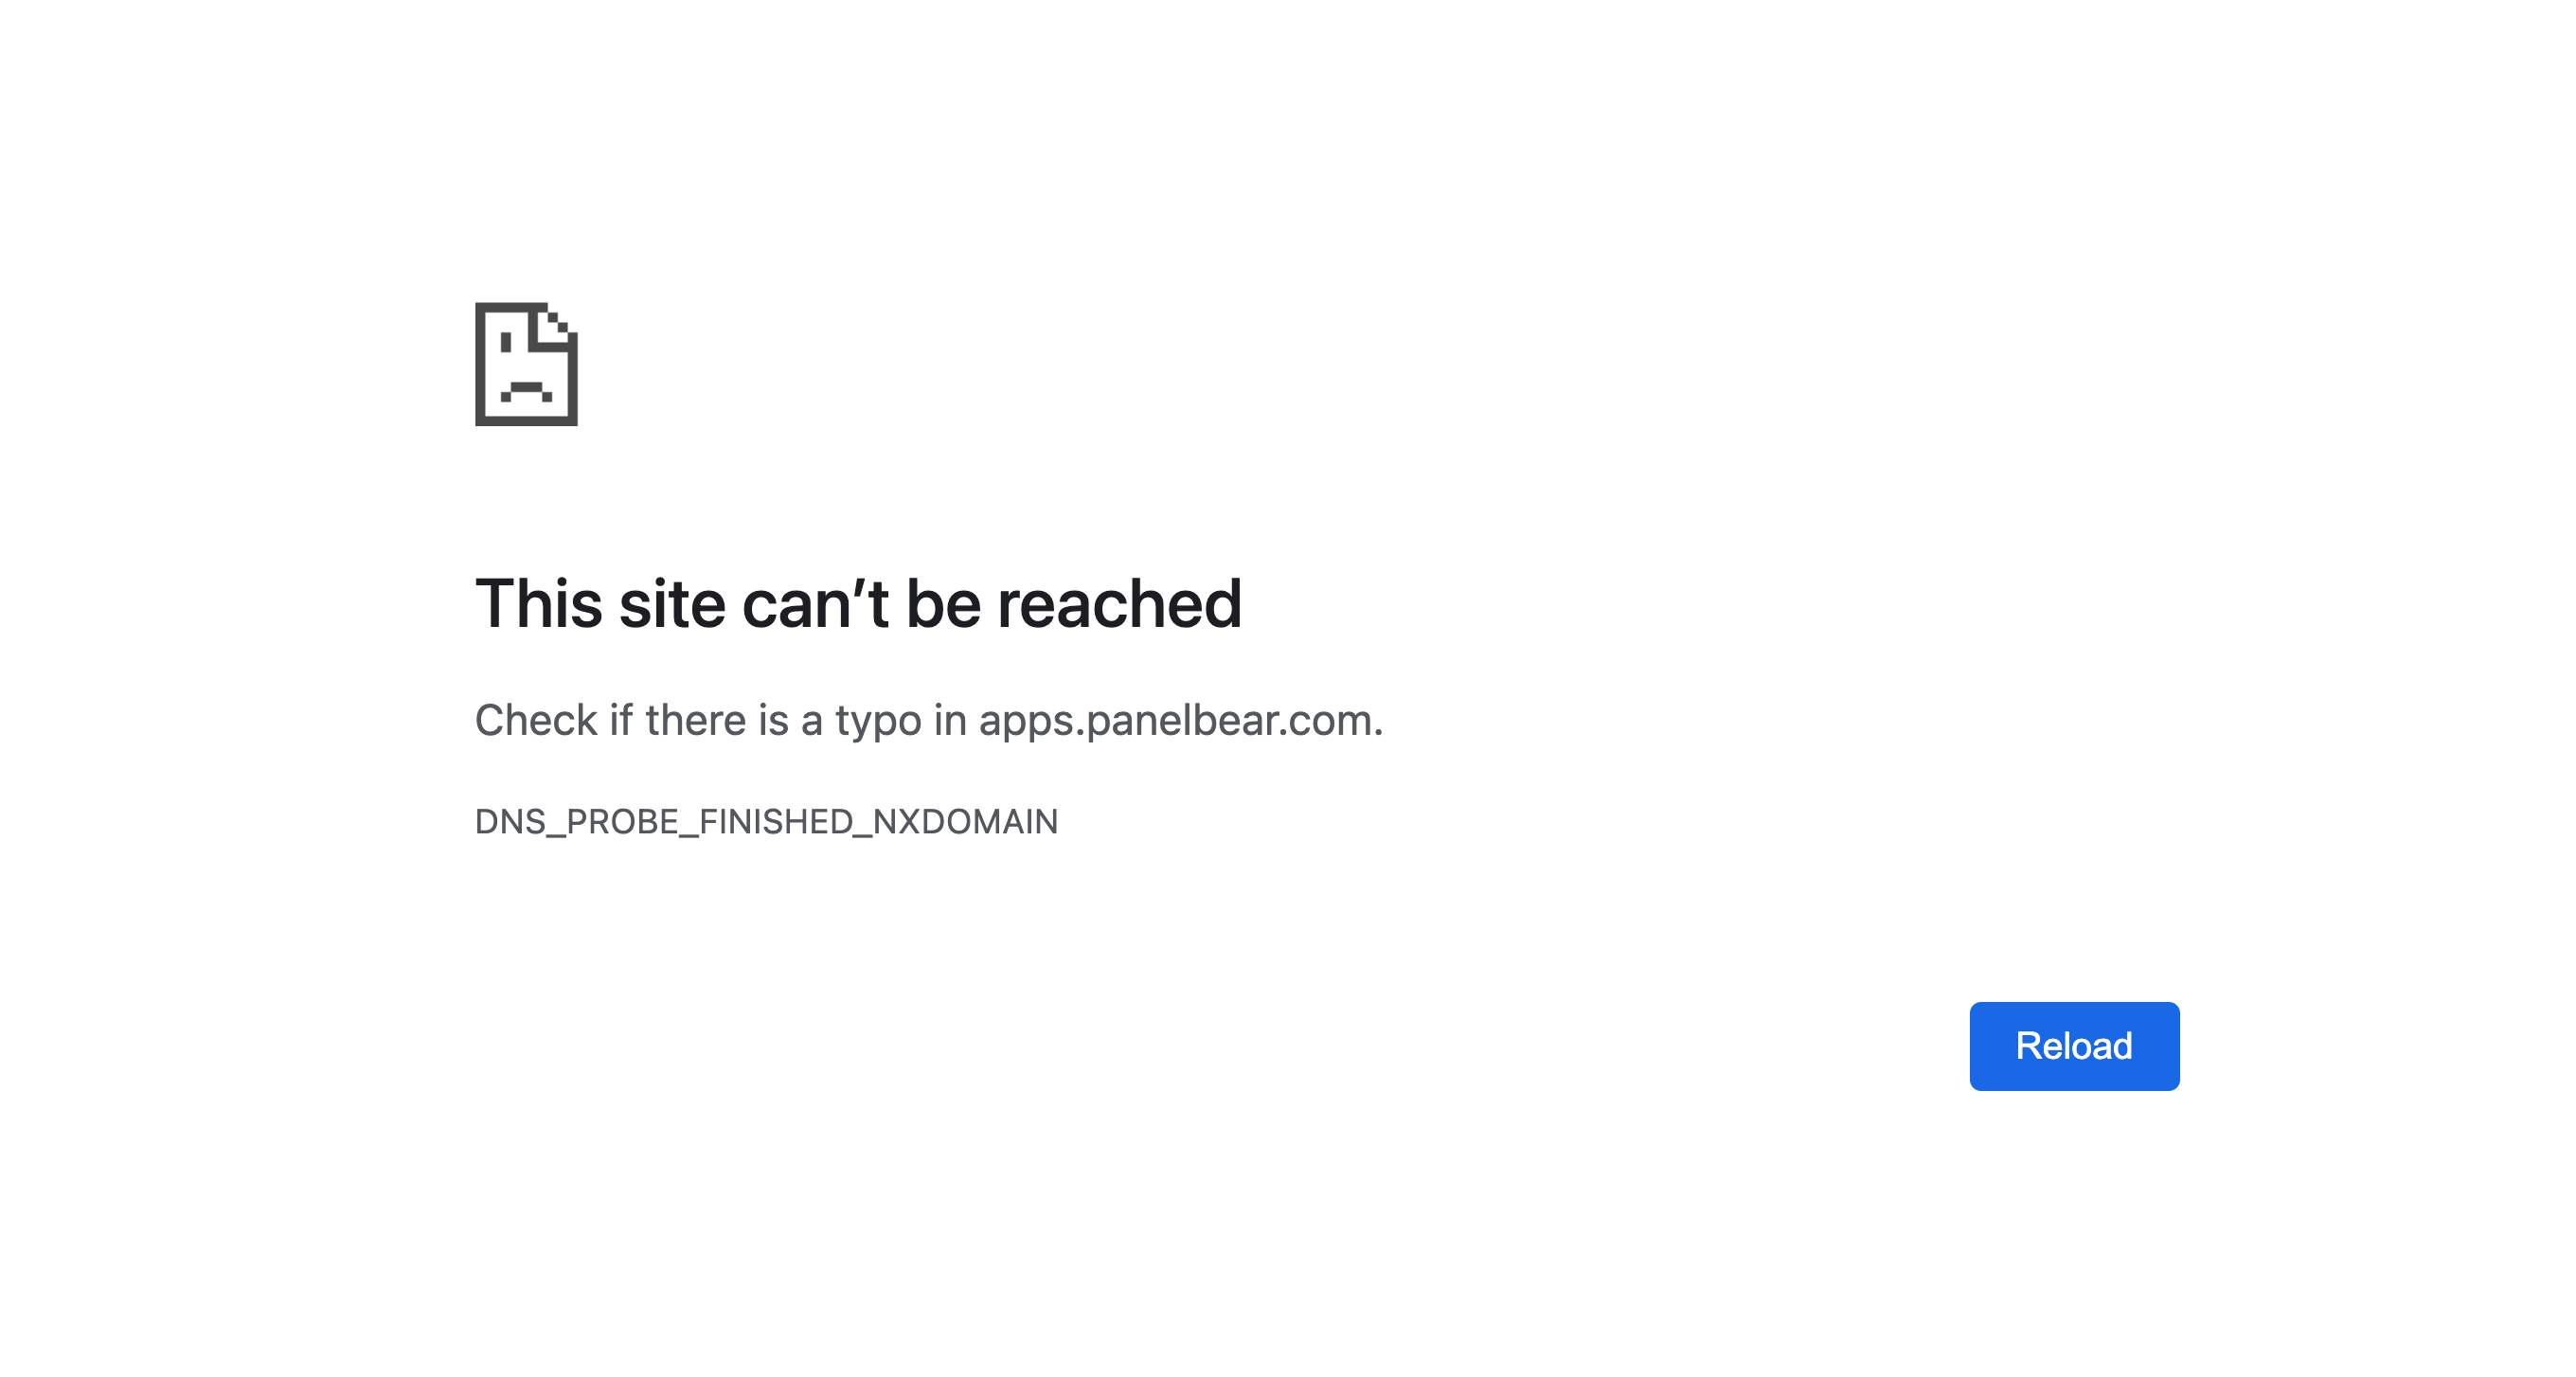 The DNS probe error as shown in Google Chrome.
Depending on your browser, you might also see a human friendly message shown, for example:
- "The site can't be reached" in Google Chrome and Brave.
- "Hmm. We're having trouble finding that site" in Firefox.
- "Safari Can't Find the Server" in Safari.
Why does it happen?
There's several reasons why this error might happen, but let's explore some of the most common:
- Your open system's DNS cache is outdated
- Your DNS client is misconfigured
- Your DNS server is unavailable
- Your browser is misconfigured or caching DNS longer than expected
- Your firewall or VPN is blocking the connection
Luckily, most of these situations can be fixed quickly and often even resolve on their own. For example, when your DNS cache is outdated, it's often just a matter of waiting a couple of minutes or hours until the records expire and are automatically refreshed.
Below you'll find three suggestions to fix this DNS error.
Solution #1: Change your DNS server
The specific DNS servers you are using can sometimes become unavailable, or cache outdated records. You can try a different DNS server, just make sure to use one that you trust.
Here's a few popular ones:
- Cloudflare DNS:
1.1.1.1and1.0.0.1 - Google DNS:
8.8.8.8and8.8.4.4 - OpenDNS:
208.67.222.222and208.67.220.220
How to change your DNS server depends on which operating system you're using. Here's the instructions for the most common ones:
macOS
On current macOS, follow Apple's DNS guide:
- Choose the Apple menu, then System Settings
- Click Network in the sidebar, then click the service you are using (Wi-Fi or Ethernet). You may need to scroll down
- Click Details, then DNS
- To add a server, click + at the bottom of the DNS Servers list and enter the IPv4 or IPv6 address
- To remove a server, select it and click − at the bottom of the list
On macOS Monterey and earlier, the same fields are under System Preferences, Network, Advanced, DNS. Click OK, then Apply.
Windows 11
- Go to Settings, then Network & internet, then Advanced network settings
- Open the connection you are using (Wi-Fi or Ethernet), then View additional properties
- Next to DNS server assignment, choose Edit
- Switch from Automatic to Manual, turn IPv4 on, and enter the preferred and alternate addresses
- Click Save
Windows 10
- Go to the Start menu, then Settings
- Go to Network and Internet, then click on Change adapter options
- Right-click on the network you're connected to and select Properties
- Select Internet Protocol Version 4 (IPv4)
- Go to Properties and click on Use The Following DNS Server Addresses
- Replace any IP addresses listed with the ones of the DNS server you'd like to use (examples mentioned before)
- Click OK to save your changes and Close
iOS
- Go to Settings and then on Wi-Fi
- Tap on the info icon ("i") next to the network you're connected to
- Scroll down to Configure DNS and tap it
- It should say Automatic by default, change it to Manual
- Tap on Add Server
- Add the IP addresses of the DNS server you'd like to use (examples mentioned before)
- Tap Save, that's it!
Android
- Go to your Settings and select Wi-Fi
- Press and hold on the network you're connected to
- Tap on Modify Network
- Select Show Advanced Options
- Set the IP Setting to Static
- Replace any IP addresses listed with the ones of the DNS server you'd like to use (examples mentioned before)
- Tap Save. You might need to reconnect to the network for the changes to take effect
Menu names vary by phone. Private DNS (a hostname such as one.one.one.one, under Network & internet) is a different setting. It is DNS-over-TLS, not the IPv4 addresses above.
Solution #2: Flush your DNS cache
If the error is only in Chrome, also clear Chrome's own host cache. Open chrome://net-internals/#dns and click Clear host cache.
macOS
- Open your Terminal app (you can use Spotlight Search to find it, or you can also find it within the Applications > Utilities directory)
- Run
sudo dscacheutil -flushcache; sudo killall -HUP mDNSResponderand hit Return - Your DNS cache has been cleared (don't worry there's no success message shown)
Windows 10
- Go to Start and then type
cmd - Right-click on Command Prompt and choose Run as Administrator
- Type
ipconfig /flushdnsand press Enter - Windows prints a line when the cache has been cleared
iOS
The easiest way to clear out the DNS cache on iOS is to toggle Airplane mode on and off:
- Open Settings
- Toggle Airplane mode on and off
- That's it! You can now check if the issue has been resolved
You can also reset your network settings in case that didn't work for you. This forgets saved Wi-Fi passwords.
- Open Settings
- Go to General, then Transfer or Reset iPhone (older iOS: Reset)
- Tap Reset, then Reset Network Settings, and confirm (be careful - do not select any other form of reset!)
- Wait for your device to reboot and check if the problem has been resolved
Android
- Go to Settings, then Apps, and select the browser you're using
- Select Storage
- Tap on Clear Cache
- Done! Try and see if the issue has been resolved
That clears the browser cache. The system resolver cache is not a separate button on most phones.
Solution #3: Disable your VPN
Consumer and corporate VPNs often have DNS caches that keep records longer than necessary. This often interferes with your regular web browsing, and might be worth checking if this is causing the DNS error you're experiencing.
Here's instructions on how to temporarily disable a VPN service on your device:
macOS
- Go to System Settings (or System Preferences on older macOS) and then on Network
- Select the VPN connection you're currently using from the panel. Some connections are listed under VPN instead
- Click on Disconnect
- Check if the issue has been resolved (you might need to reconnect to your network)
iOS
- Go to your Settings and then General
- Tap on VPN & Device Management (older iOS: VPN)
- Locate the VPN you're currently connected to, tap to toggle off
Windows 10
- Go to the Start menu, then Settings
- Click on Network and Internet, and then on VPN
- Select the VPN you're currently connected to
- Click on Disconnect
Android
- Go to Settings, then Network and Internet
- Select VPN
- Locate the VPN you're currently connected to, tap to toggle off
Monitor DNS issues on your website
As a website owner, it's often difficult to understand if you're often losing traffic due to DNS issues. Maybe the DNS servers you're using are not as reliable as you might hope, or they're misconfigured and causing issues for your end users.
The three fixes above are for the computer that cannot open a site. They do not change what your visitors' resolvers do.
What Cronitor can show you is how long the DNS lookup took for visitors who did load the page. Open the site, then Performance, and set the chart to DNS Resolution.
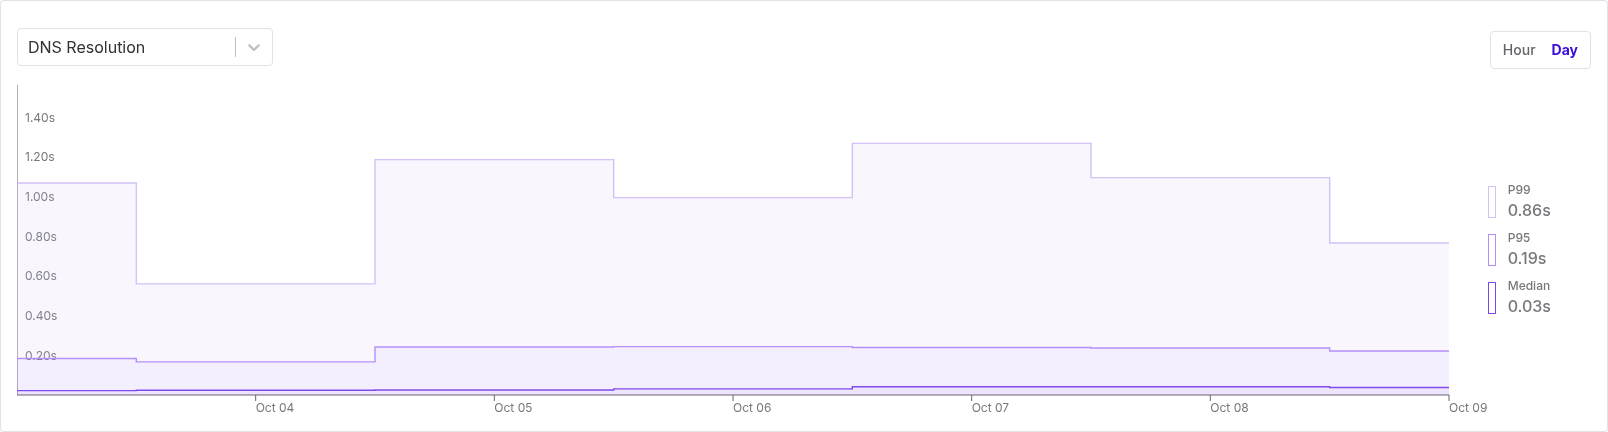 DNS Resolution in Cronitor. This is lookup time for visitors who loaded the page, not a probe for the error on your own laptop.
A browser that never got past DNS_PROBE_FINISHED_NXDOMAIN does not appear on that chart, because the snippet never ran. When you need to hear that your own hostname does not resolve, use an uptime check. Check types are HTTP, browser, TCP, and UDP. An HTTP or browser check fails when the name does not resolve for the probe.
The same Performance chart also shows page load time and the Core Web Vitals Cronitor records. Those are covered in website performance metrics and real user monitoring.
You can try it out for free and see those timings on a site you operate.