Users & Security
Configuring SAML SSO
If you're a Cronitor team administrator, you can enable single sign-on (SSO) using any SAML2 identity provider, such as Okta, Azure AD, or Google Workspace, to simplify user access and enhance security.
Integrate w/ Identity Provider (IdP)
Step 1: Get Cronitor's SAML details
When configuring your identity provider, you'll need these Cronitor URLs:
| Parameter | Value |
|---|---|
| SAML Metadata URL | https://cronitor.io/auth/saml/metadata |
| Assertion Consumer Service URL | https://cronitor.io/auth/saml/acs/ENCODED-SAML-ID |
Step 2: Configure your Identity Provider (IdP)
Use these settings when setting up the SAML integration:
| Setting | Value |
|---|---|
| NameId Format | urn:oasis:names:tc:SAML:1.1:nameid-format:emailAddress |
| SAML Protocol | SAML2 with HTTP-Redirect (SP to IdP) and HTTP-POST (IdP to SP) |
Attributes
| Attribute | Purpose | Required? |
|---|---|---|
firstName | User's first name | Required for JIT user creation |
lastName | User's last name | Required for JIT user creation |
role | User's access level: readonly, user, or admin | Optional |
Step 3: Gather information from your IdP
Before moving to the next section, collect these three items from your identity provider:
| Required Item | Description | Examples |
|---|---|---|
| SSO Login URL | The SAML login endpoint | https://yourcompany.okta.com/app/... |
| Entity ID | IdP identifier | Often the metadata URL or Azure AD Identifier |
| x509 Certificate | Public certificate for signature validation | PEM-formatted certificate |
Enable SSO in Cronitor
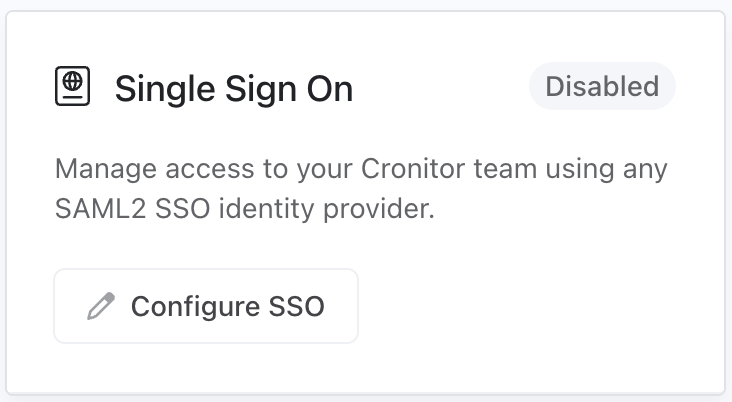
Step 1: Access SSO configuration
Log into Cronitor as an administrator, navigate to Team Settings, and click the "Configure SSO" button to begin setup.
Note: If the button is disabled, ensure your team is subscribed to the Business plan.
Step 2: Select your identity provider
Select your identity provider from the options at the top of the configuration form. Cronitor supports Okta, Google Workspace, Microsoft Entra, and other SAML2-compatible providers (Generic).
Selecting your IdP will update the field labels to match your provider's terminology, making it easier to copy values from your IdP's configuration screen.
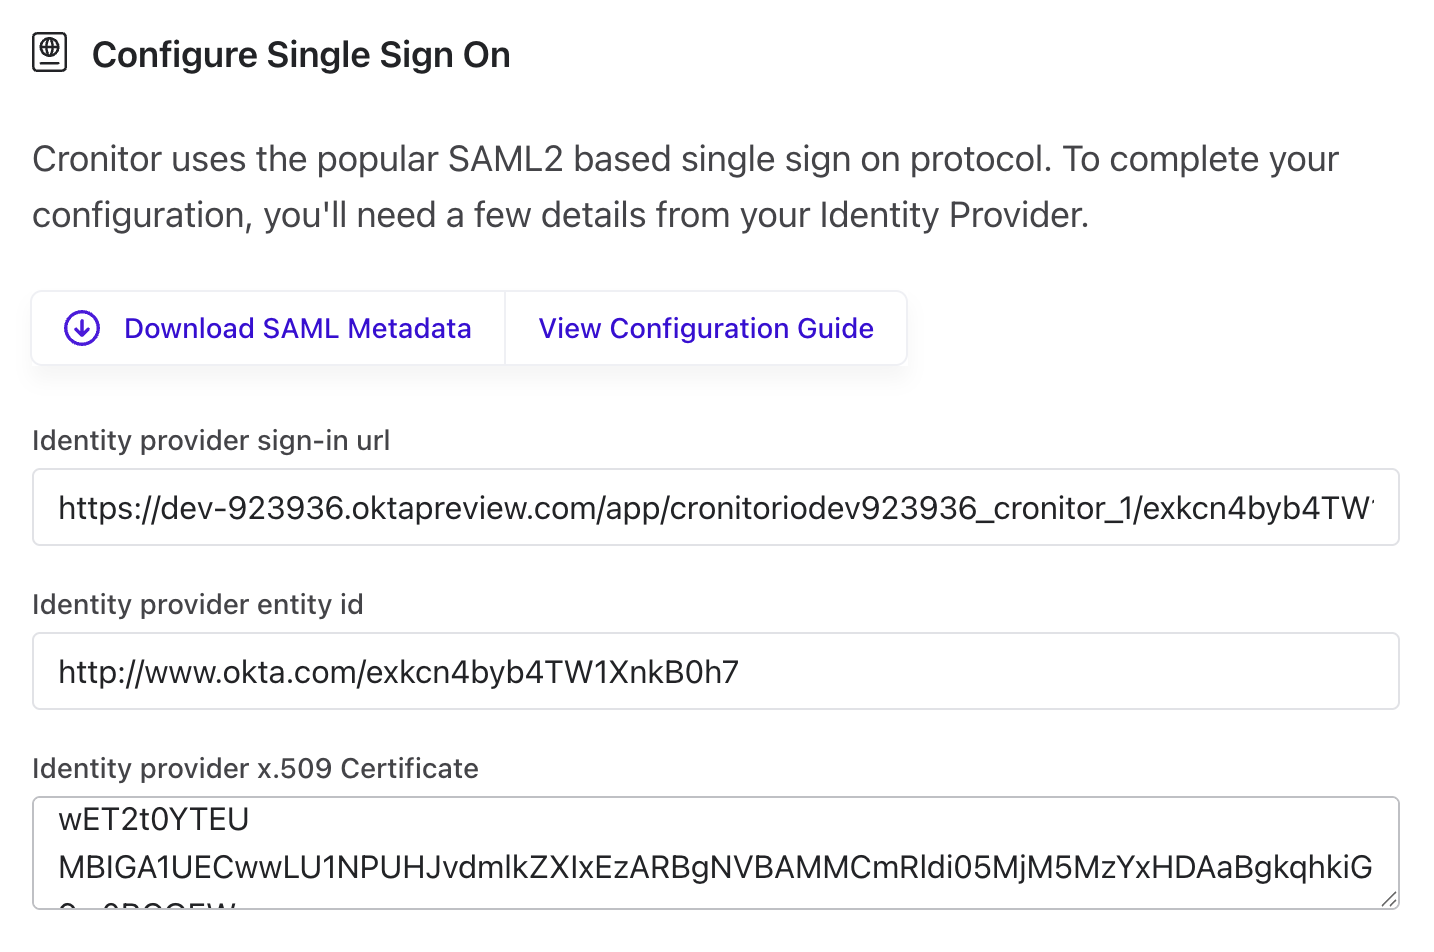
Step 3: Enter your identity provider details
Add the information you gathered from your IdP. The field names vary by provider:
| Cronitor Field | Okta | Google Workspace | Microsoft Entra |
|---|---|---|---|
| Sign-in URL | Identity Provider Single Sign-On URL | SSO URL | Login URL |
| Entity ID | Identity Provider Issuer | Entity ID | Microsoft Entra Identifier |
| Certificate | X.509 Certificate | Certificate | Certificate (Base64) |
Open .cer or .pem certificate files in a text editor to copy the full certificate text.
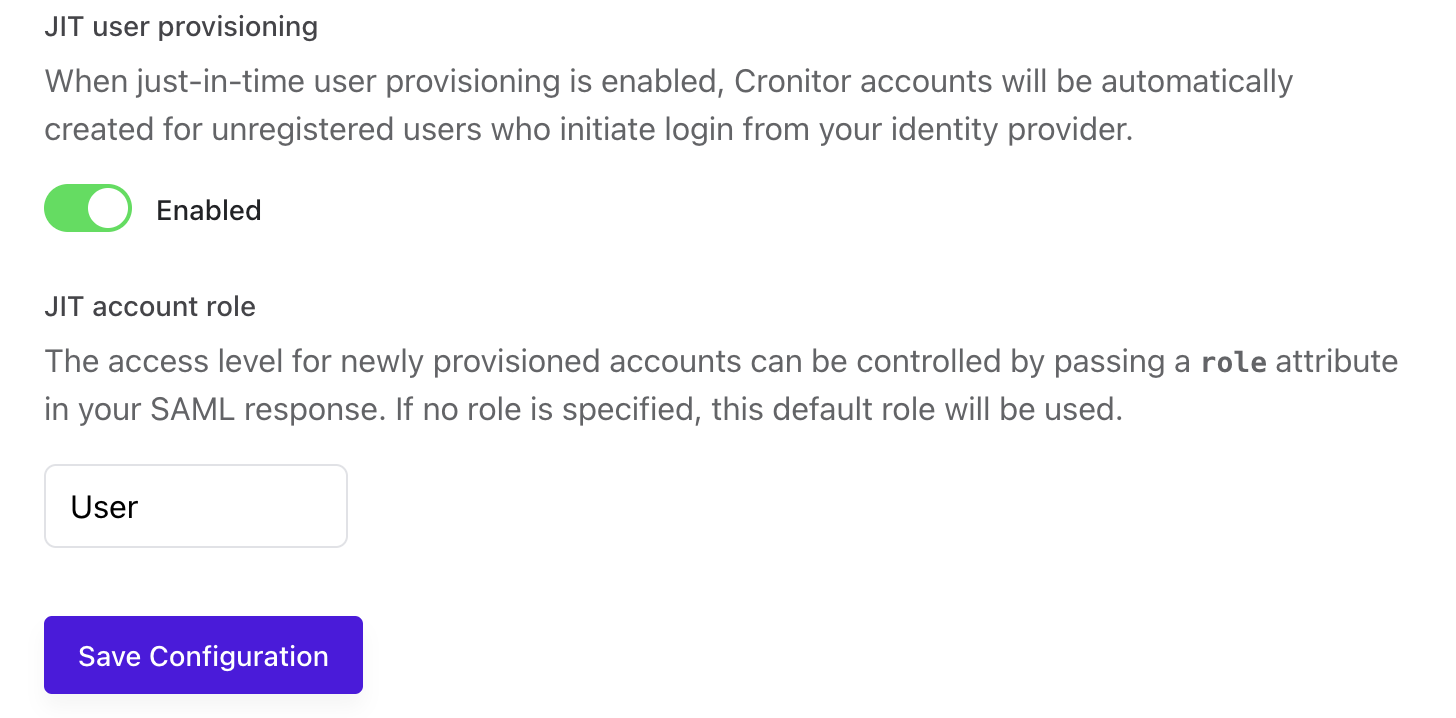
Step 4: Configure User Provisioning (Optional)
You can optionally enable Just-in-Time (JIT) provisioning, which automatically creates a Cronitor user account when someone signs in through your identity provider for the first time.
| Setting | Options | Default | Description |
|---|---|---|---|
| JIT Provisioning | Enabled / Disabled | Enabled | Automatically create Cronitor user accounts on first login |
| Default Role | readonly, user, admin | user | Default user role if the identity provider doesn't specify one |
Step 5: Test Your SAML Integration
To verify your SSO configuration:
- Save your SAML configuration settings.
- Sign in through your identity provider's portal.
- Confirm successful authentication and access to your Cronitor account.
Step 6: Disable password authentication (optional)
- Keep yourself logged in during this process
- Test SAML login in another browser or incognito window
- Only disable password authentication after successful SAML testing
- Re-enable password auth immediately if SAML tests fail
Certificate Expiration
SAML x509 certificates have expiration dates set by your identity provider. When a certificate expires, SSO authentication will fail, so it's important to renew certificates before they expire.
Monitoring Expiration
Cronitor helps you stay ahead of certificate expiration:
In the UI: The SSO configuration page displays your certificate's expiration date. A green checkmark indicates the certificate is valid, while a red indicator warns you when expiration is within 30 days.
Email Alerts: Cronitor automatically sends email notifications to team administrators when your certificate is approaching expiration. Alerts begin 30 days before expiration and are sent every 7 days until the certificate is renewed.
Renewing Your Certificate
- Generate a new certificate in your identity provider
- Copy the new certificate text
- Paste it into the Certificate field in Cronitor's SSO configuration
- Save your configuration
The new certificate takes effect immediately. We recommend renewing certificates at least one week before expiration to avoid any SSO disruption.
Security Checklist
| ✓ | Action |
|---|---|
| [ ] | Test SAML login before disabling passwords |
| [ ] | Verify JIT provisioning creates accounts correctly |
| [ ] | Confirm role mapping works as expected |
| [ ] | Keep an admin account accessible during testing |
| [ ] | Document IdP configuration for future reference |
| [ ] | Monitor certificate expiration dates |